How to Build a Customizable Logo List section on your Shopify Homepage
A necessary section for almost all Shopify Store can be named is Logo List or Logo Bar module. This section will highlight the businesses that a store deal with and assert themselves as a trustworthy and in-demand company.
A highly visible, deliberately placed logo bar establishes credibility for your clients, and allows for brand storytelling through imagery, rather than text.
In this tutorial, I will guide you to create this section for your Homepage. It is dead simple, I am sure
How to Build a Customizable Logo List section on your Shopify Homepage
Step 1: Add a new theme section
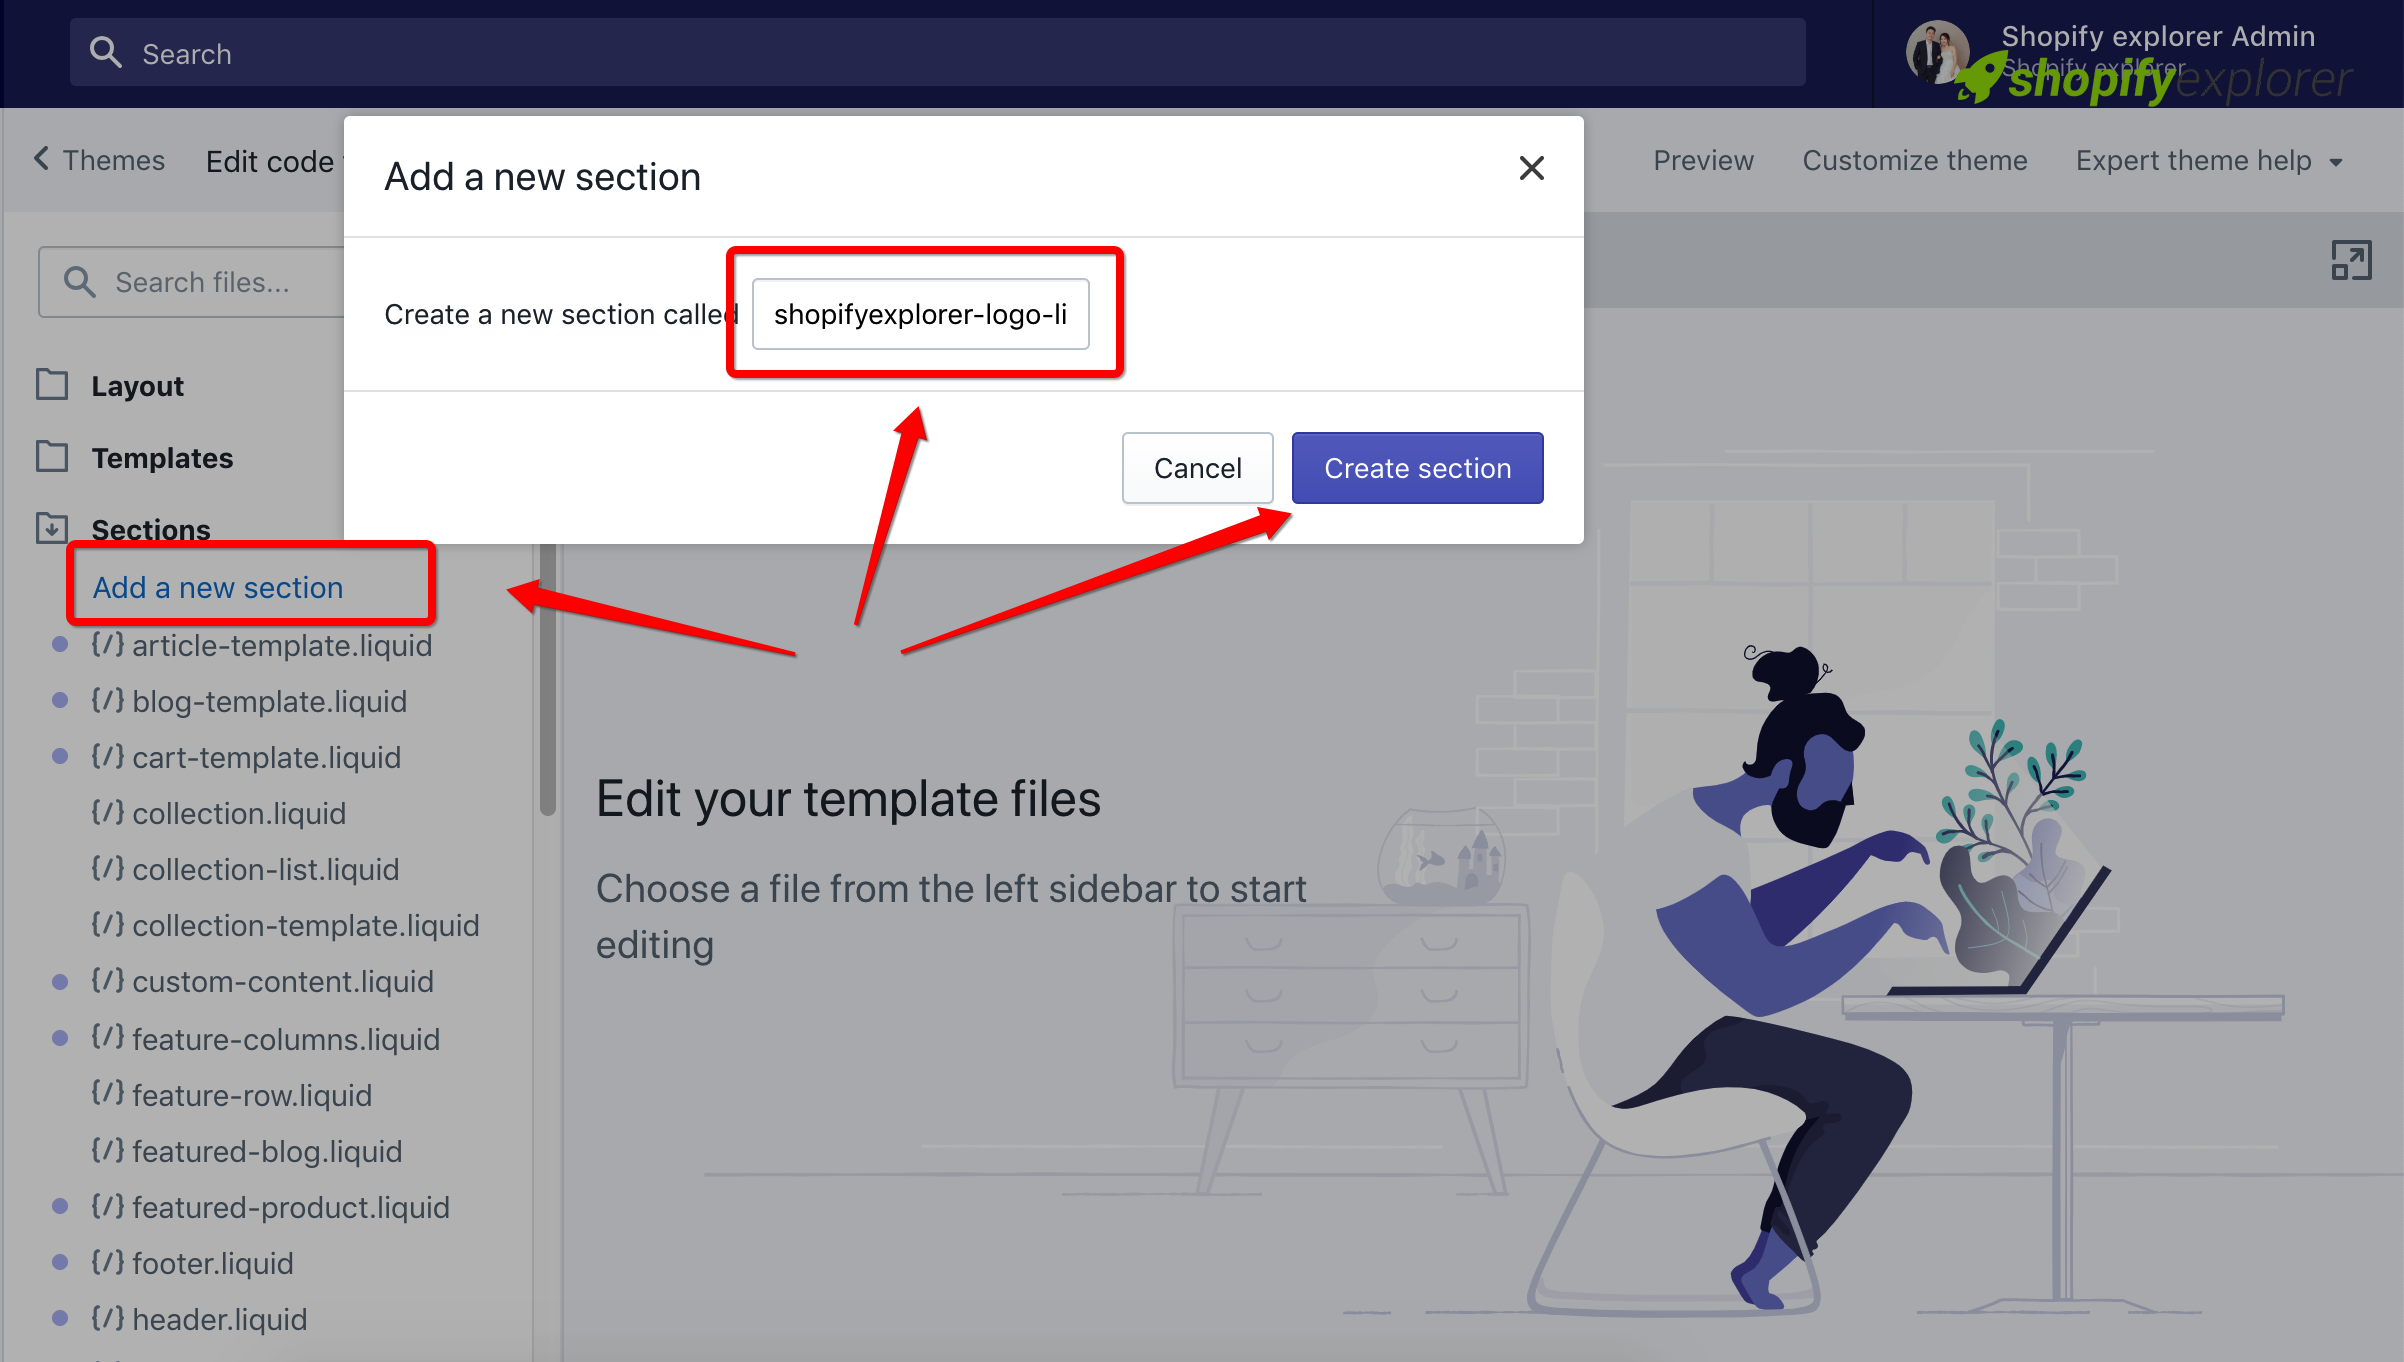
The very first step is adding new section to your theme. From Shopify Dashboard, navigate to your Theme editor

Add new section with name ecg-logo-list
Like this screenshot bellow:

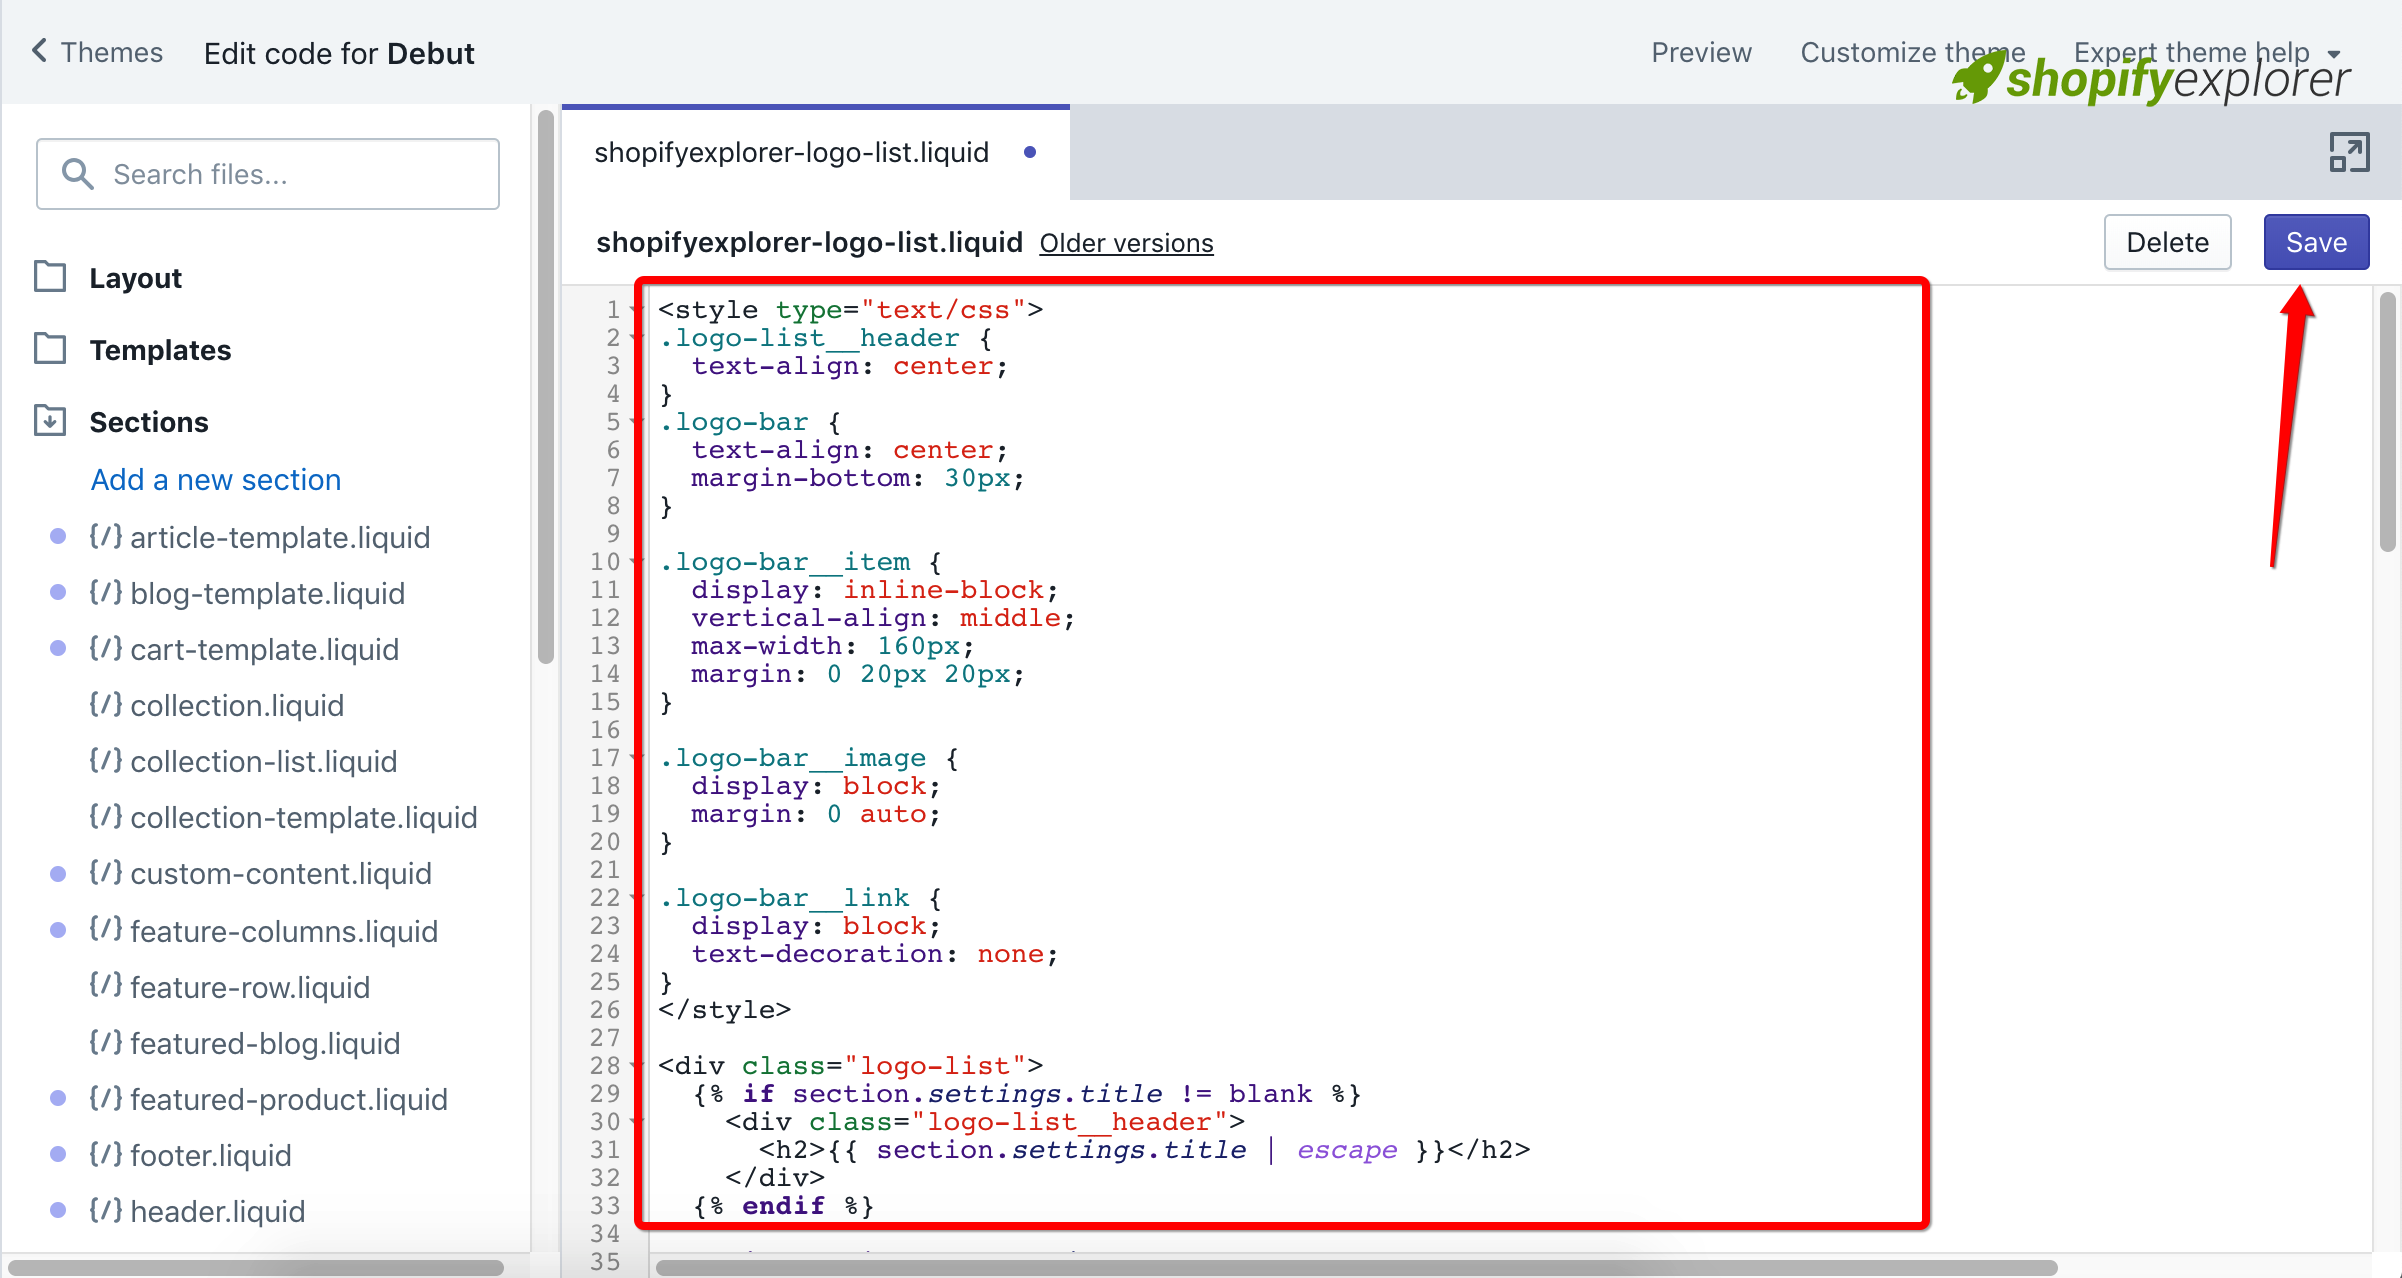
After creating a new section, paste the following code into it and Save snippet file
<style type="text/css">
  .logo-list__header {
    text-align: center;
  }

  .logo-bar {
    text-align: center;
    margin-bottom: 30px;
  }

  .logo-bar__item {
    display: inline-block;
    vertical-align: middle;
    max-width: 160px;
    margin: 0 20px 20px;
  }

  .logo-bar__image {
    display: block;
    margin: 0 auto;
  }

  .logo-bar__link {
    display: block;
    text-decoration: none;
  }
</style>
<div class="logo-list">
    {%- if section.settings.title != blank -%}
        <div class="logo-list__header">
            <h2>{{ section.settings.title | escape }}</h2>
        </div>
    {%- endif -%}
    {%- if section.blocks.size > 0 -%}
        <div class="logo-bar">
            {%- for block in section.blocks -%}
                <div class="logo-bar__item" {{ block.shopify_attributes }}>
                    {%- if block.settings.link != blank -%}<a href="{{ block.settings.link }}" class="logo-bar__link">{%- endif -%}
                    {%- if block.settings.image != blank -%}
                        {{ block.settings.image | img_url: '160x160', scale: 2 | img_tag: block.settings.image.alt, 'logo-bar__image' }}
                    {%- else -%}
                        {{ 'logo' | placeholder_svg_tag: 'placeholder-svg' }}
                    {%- endif -%}
                    {%- if block.settings.link != blank -%}</a>{%- endif -%}
                </div>
            {%- endfor -%}
        </div>
    {%- endif -%}
</div>
{% schema %} {
  "name": "Logo list",
  "class": "index-section",
  "max_blocks": 20,
  "settings": [
    {
      "type": "paragraph",
      "content": "Keep update from [ShopifyExplorer](https://easycodeguide.com/?p=23)"
    },
    {
      "type": "text",
      "id": "title",
      "label": "Heading",
      "default": "Logo list"
    }
  ],
  "blocks": [
    {
      "type": "logo_image",
      "name": "Logo",
      "settings": [
        {
          "type": "image_picker",
          "id": "image",
          "label": "Image"
        },
        {
          "type": "url",
          "id": "link",
          "label": "Link",
          "info": "Optional"
        }
      ]
    }
  ],
  "presets": [
    {
      "name": "Logo list",
      "category": "Image",
      "blocks": [
        {
          "type": "logo_image"
        },
        {
          "type": "logo_image"
        },
        {
          "type": "logo_image"
        },
        {
          "type": "logo_image"
        }
      ]
    }
  ]
} {% endschema %}
Like this screenshot bellow:

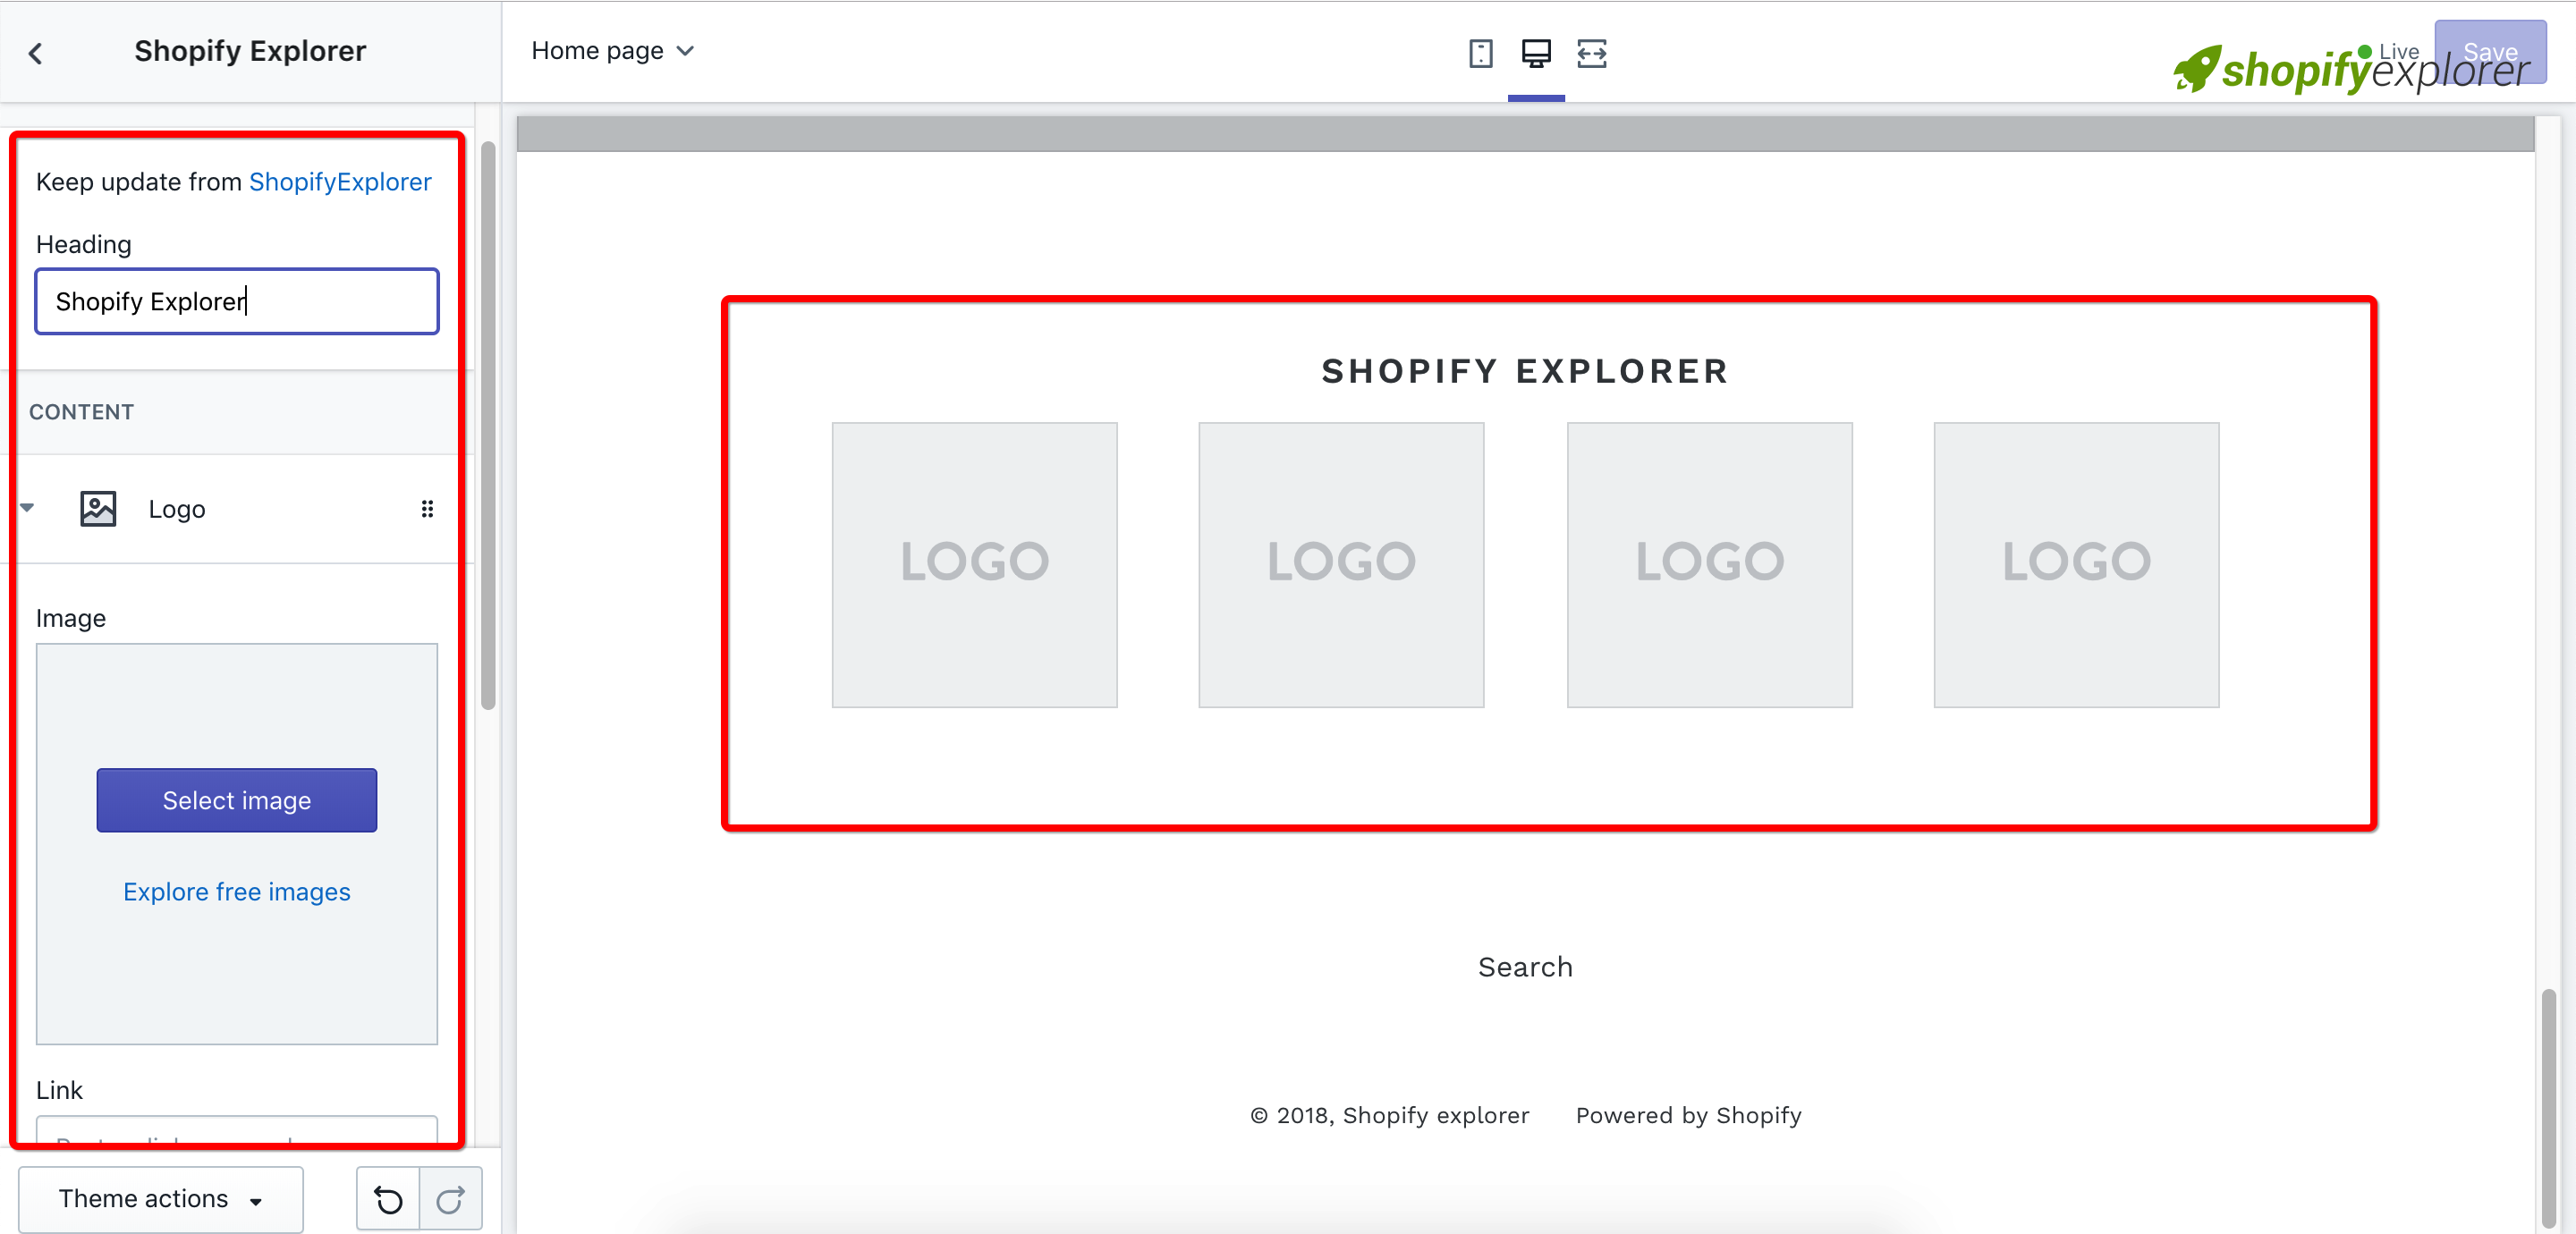
Step 2: Add new section to your Homepage
- Open Shopify customizer panel

Hit on Add Section
Select Logo list [ShopifyExplorer] from section list, click Add
Change your Heading, upload and config your logo

- Save Homepage
Notice: I just use the very basic style, you can change style by modifying CSS within your theme.
Conclusion:
That’s all, you can see my live theme example here. Hope that my detail tut can help you a little in launching your shop. Please fell free to contact me if you have any issue in trying this.
Thank you all for reading my tutorial. If you like it, share it to your friends and don’t forget to help me a bit by clicking ads or donate to helps me maintain this site.


